Wing 8: Challenge mode
Decima · Greer · Ura
All raid guides
This guide focuses on mechanics added or changed in challenge mode.
Decima

Recommended damage type: condition damage.
Split into melee and ranged teams from the start.
Decima gains an additional mechanic at 80%, 50%, and 30% health, as shown.
Three areas appear. The melee team moves to the area near Decima, and the ranged team moves to the farther area to handle the mechanic.
These areas contain elite enemies that are linked to each other.
Once one team kills its elite, the other team has ten seconds to kill the linked elite.
(If they fail, the defeated elite revives with 50% health.)
After killing the elites, return directly to Decima's area.
(Use a Mesmer portal if available. Otherwise, ride the updraft that appears after the elite dies.)
The ranged team must manage lasers while fighting its elite.
(Watch the pillars in both Decima's area and the ranged team's area while directing the lasers.)
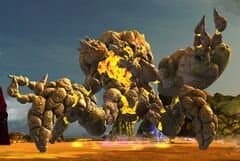
Decima goes into a frenzy at 10% health.
She charges the pillars herself, as shown. The wipe gauge also fills, so finish her quickly.
Greer
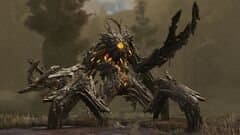
Choose a condition or power composition for the squad. That choice determines which minion you kill first.
Everyone, including DPS players in either composition, should bring projectile-blocking skills.
Greer now has three minions instead of two.
The attacks shown in the three images above now inflict plague when they hit you.
Plague creates a red circle around you and can spread to allies.
Reaching ten stacks of plague kills you instantly.
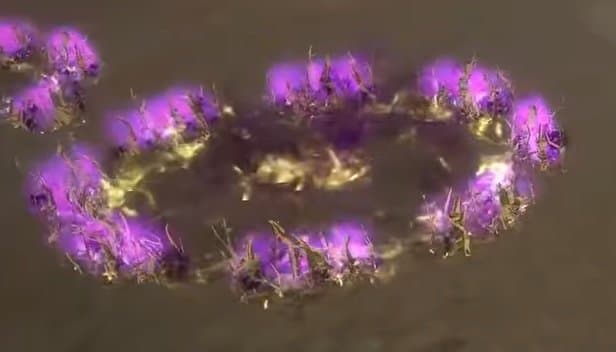
In CM, each minion grants the other minions a buff that cannot be removed.
With a condition squad, kill Reeg first during the minion phase because it provides Resolution.
With a power squad, kill Gree first during the minion phase because it provides Protection.

Three champion enemies appear when Greer reaches 10% health. Kill them first.
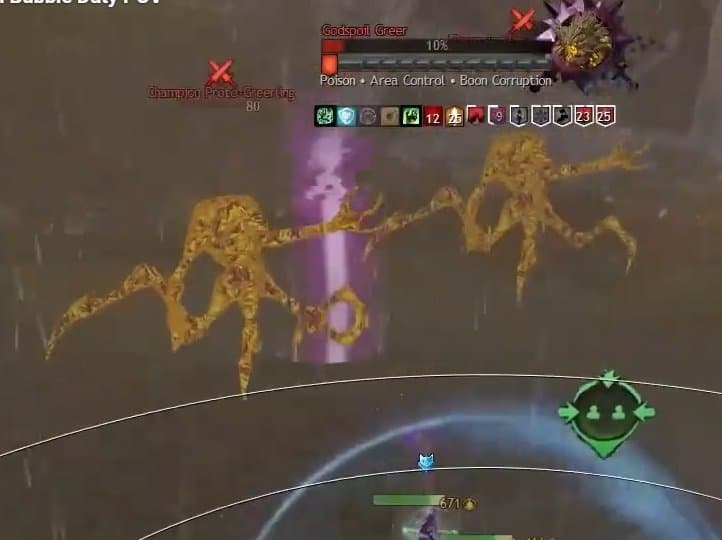
After 10%, when three players receive greens, they move away from the main group and stack together. A healer's group invulnerability lets them bypass the mechanic.
Ura
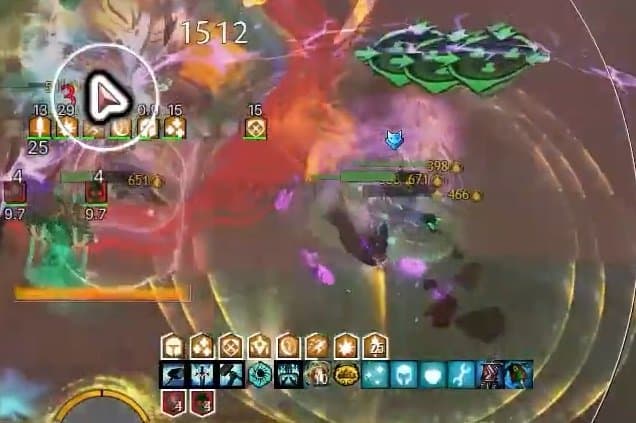
Healers and boon DPS players need to manage the poison areas around the arena.
Healers spend a lot of time away from the main group, so condition DPS builds with good self-sustain are recommended.
Recommended damage type: condition damage.
Poison areas now appear every 12 seconds. Healers and boon DPS players should clear them promptly.
Break the area's defiance bar, then use the bloodstone to destroy it.
Troubadour healers and spear Specters providing Alacrity have useful crowd control and mobility for this job. Watch your bloodstone stacks and alternate who clears each poison area.
The areas that summon adds can no longer be destroyed. Keep dealing with the champion enemies that spawn from them.
At 1% health, Ura's shell breaks and she recovers 15% health. Be ready for this final recovery.
For the existing wave mechanic, move far away quickly to place it.
(This is another reason for DPS players to bring mobile condition builds.)