Wing 7: Normal mode
Cardinal Adina · Cardinal Sabir · Qadim the Peerless
All raid guides
This is a short guide to the mechanics beginners need to know, rather than a complete breakdown of every attack.
First boss: Cardinal Adina (CA)
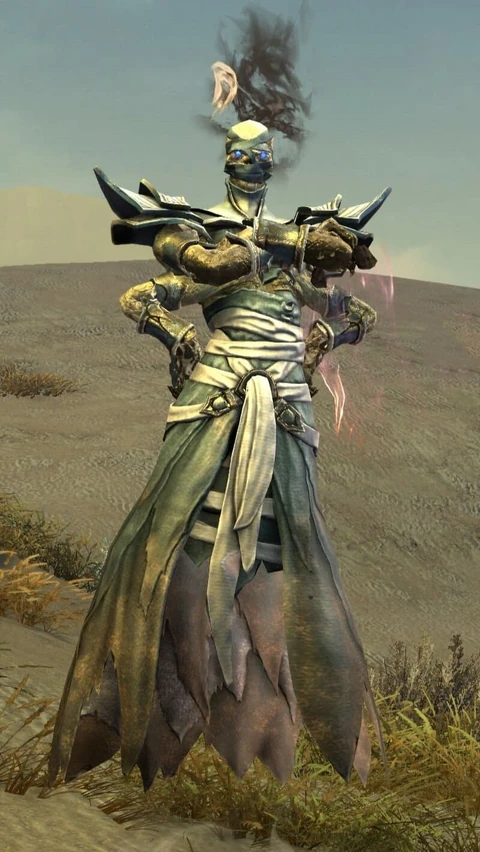
Use five pillars to block the boss's ranged attacks while avoiding its lasers.
Five pillars are present at the start. Put two players behind each and use the boss's ranged attacks to destroy them, as shown. Each surviving pillar gives the boss 20% damage reduction.
When five players receive red circles, they move to the positions shown to place new pillars. Pillars placed too close together are destroyed as they form.
Standing where a pillar forms kills you instantly.
Once the pillars are in place, hide two players behind each when the eye appears above the boss, as shown.
The boss then fires lasers in two directions and rotates through 360 degrees. A laser hit kills you instantly.
After the lasers, the floor changes. Destroy the hand-shaped pillars.
The mechanics then repeat.
Second boss: Cardinal Sabir (CS)
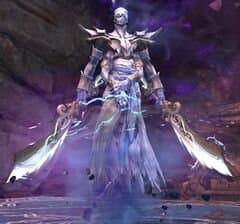
Use updrafts and plenty of CC in this encounter.
Getting hit by the boss builds stacks of a debuff. At five stacks, you receive the special action skill shown.
When the boss gains a defiance bar, use the special action skill on it to reduce the bar.
Spread out when the red circles shown appear.
When the boss moves to another platform, follow by riding the updrafts. Entering a red tornado kills you.
When the boss releases a shockwave, ride a nearby updraft to avoid it. Blocking or invulnerability skills can also stop it.
Below 50%, the defiance bar sometimes regenerates continuously. Save your special action skill until the commander repeatedly links the skill in chat, as shown. Use it together to break the bar in one burst.
* Riding a small nearby tornado removes your special action skill. You then need to take the boss's attacks again to recharge it.
When the white safe circle shown appears, enter it to survive.
The large red tornado kills you if it catches you.
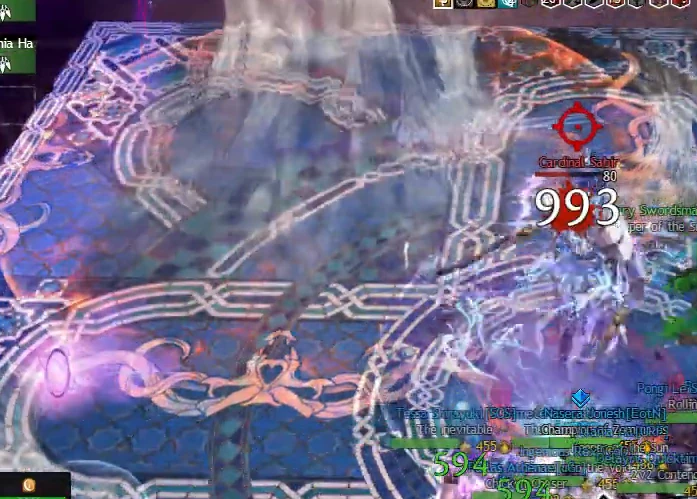
Final boss: Qadim the Peerless (QP)
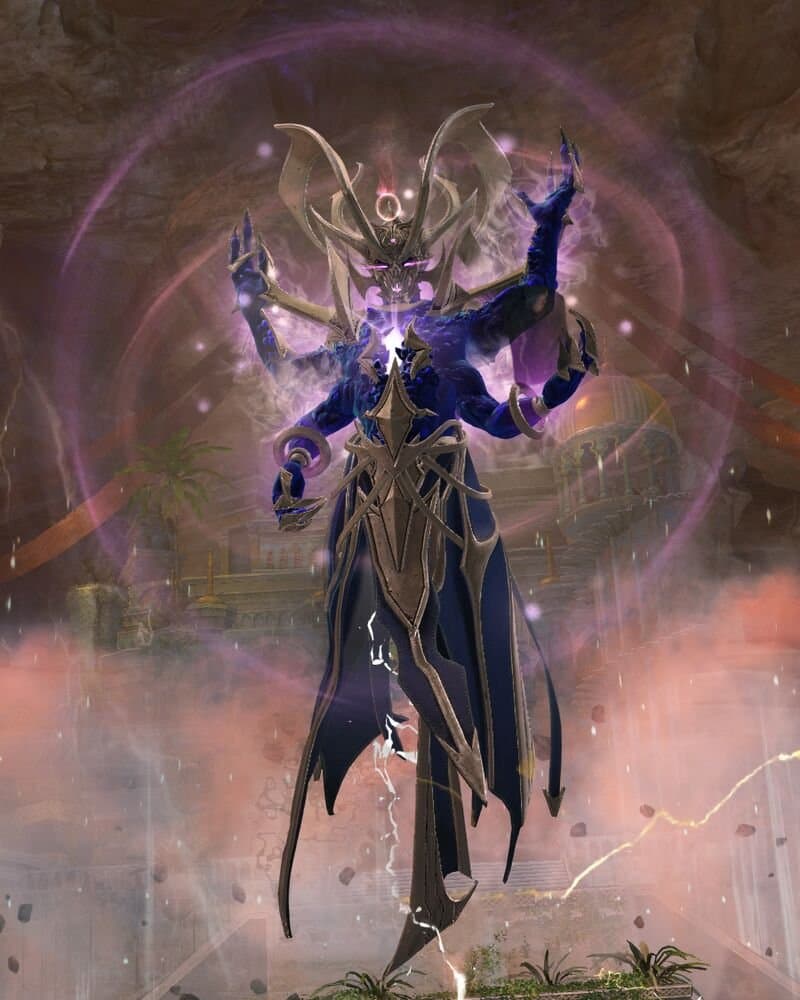
Place fire fields carefully and keep out of them.
Only players assigned a special role should use the special action key. The upper image shows it activated; the lower image shows it inactive.
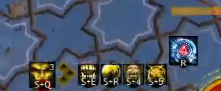
At the start, break the defiance bars on your assigned pylons to remove the central boss's shield. Its shield removal triggers a pushing wave; Stability or a dodge prevents the knockback.
During the fight, players are lifted into the air as shown. Stack precisely on the commander's markers to place the fields cleanly.
(Two positions are assigned per pylon. Use them in order.)
Keep out of the fire fields once they are placed.
After placing the fields, break the pylon defiance bars again, then return to damage the boss.
The boss targets a player with the laser shown three times. Jump as it strikes, or dodge toward a position with no allies.
(A hit explodes and deals heavy damage to nearby players.)
The boss destroys the pylons one at a time, releasing another pushing wave each time. Watch where it will push you: landing in a fire field kills you.
The enemy shown appears periodically. If it approaches the boss without passing through a fire field, DPS players need to kill it directly.
Finish the boss after all three pylons are destroyed. Keep watching the fire fields.