Wing 5: Normal mode
Soulless Horror · Dhuum
All raid guides
This is a short guide to the mechanics beginners need to know, rather than a complete breakdown of every attack.
First boss: Soulless Horror
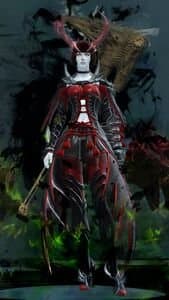
Watch the fire walls and red ground effects.
Fire walls periodically cross the arena. Touching a wall kills you instantly.
A vortex appears when the boss gains a defiance bar. Break the bar quickly with CC skills.
(Failing the breakbar fears the group and sends players off the platform.)
The image shows red scythes moving across the arena. Avoid them: they deal heavy damage and remove boons.
Stay out of the red ground effects as well; they deal heavy damage.
Final boss: Dhuum
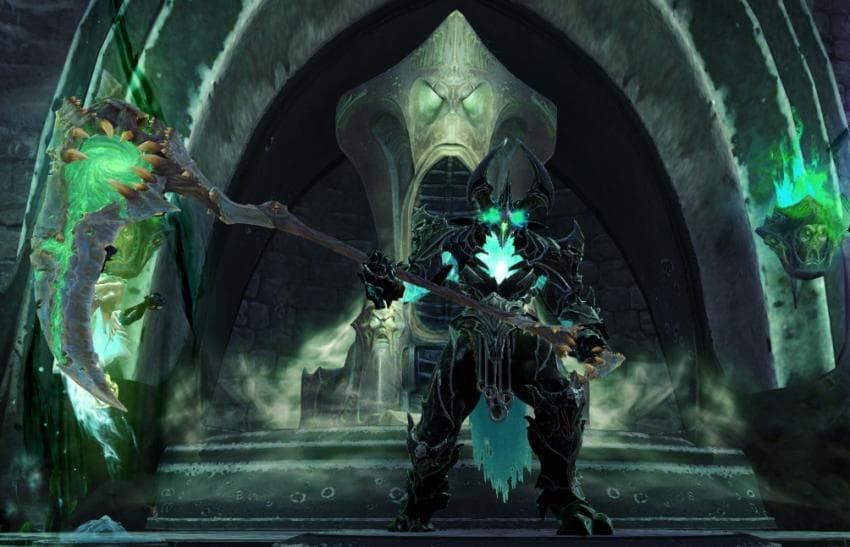
DPS players should always attack from behind this boss.
At the start, kill the skeletons. Avoid attacking the nearby golems.
(A golem follows whoever attacks it. If one follows you, keep moving until it disappears.)
While moving around, kill spiders that are attacking the friendly spirits.
If you receive the bomb shown, move to the opposite side, as far from your allies as possible, and stand by the wall. Wait for it to explode before returning.
The boss appears in the center and separates players' souls from their bodies. A beam of light marks where your body was. Collect it to regain your body.
(The boss then pulls you toward the center. Entering its area kills you.)
* While in spirit form, any boss attack that hits you kills you instantly.
During the fight, the boss sinks into the ground, rises, and slams its scythe down. Avoid this attack and the field it leaves behind.
(If the attack hits you, your soul separates from your body. Collect your body at the beam of light, then return.)
Two players periodically become linked by the electrical tether shown. Move at least 1,200 units apart to break it.
(Once you are more than 1,200 units apart, a burst effect on your character confirms the tether has broken.)
At 10% boss health, players rise into the air and collect five pink orbs.
(Entering the central beam of light shown kills you instantly. Keep clear of the center.)
After collecting five orbs and returning, the commander signals with a ready check. Once everyone is ready, activate the panel in front of you, then return.
(Respond to the ready check even if your character is dead.)
Once everyone successfully activates their panel, the boss can be attacked in the center.
(If the boss survives that damage window, return to the panels, activate them again, and come back. There is no second ready check.)
This wing also has a running encounter and three miniboss encounters, but groups currently tend to skip them.