Preparing for raids
Choose your role and build, prepare your equipment, and set up golem practice.
All raid guides
Raid access by expansion
OLC: Accessible with a free account.
W1–W7 + IBS7: Accessible with Heart of Thorns + Path of Fire.
AH, XJJ, KO, HT: Accessible with End of Dragons.
CO, TOF: Accessible with Secrets of the Obscure.
W8: Accessible with Janthir Wilds.
Kela, W9 (September release): Accessible with Visions of Eternity.
Masteries for raiding
Gliding: Ley Line Gliding (required for the final boss of W3).
Gliding: Updraft Use (optional).
Bouncing Mushrooms (optional).
Jackal: Shifting Sands (optional).
Equipment by role
You can participate with exotic equipment as the minimum tier.
DPS: Start with either a power set using Berserker's stats or a condition set using Viper's stats. As you progress, prepare one set for each damage type.
Boon DPS: Prepare Berserker's or Viper's equipment for this role as well.
Healer: Harrier's equipment is the usual choice if you do not also plan to tank.
Choosing and practicing a build
https://snowcrows.com/builds/raids
Choose a build for your preferred role (DPS, boon DPS, or healer) from Snow Crows (SC), a widely used build resource, and practice it.
DPS: A golem result in the high 20,000s is enough to pull your weight. Following the SC rotation and practicing a little should make 20,000 DPS readily achievable.
Boon DPS: Expect roughly 10,000 less DPS than a dedicated damage build, while maintaining 80–90% uptime on your assigned boon, Quickness or Alacrity.
Healer: Aim to maintain supporting boons such as Stability and Protection at 90% uptime while healing allies.
Practicing on the golem
Training area entrance: southern Lion's Arch.
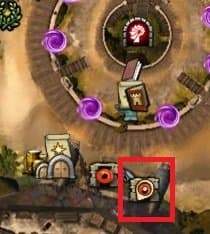
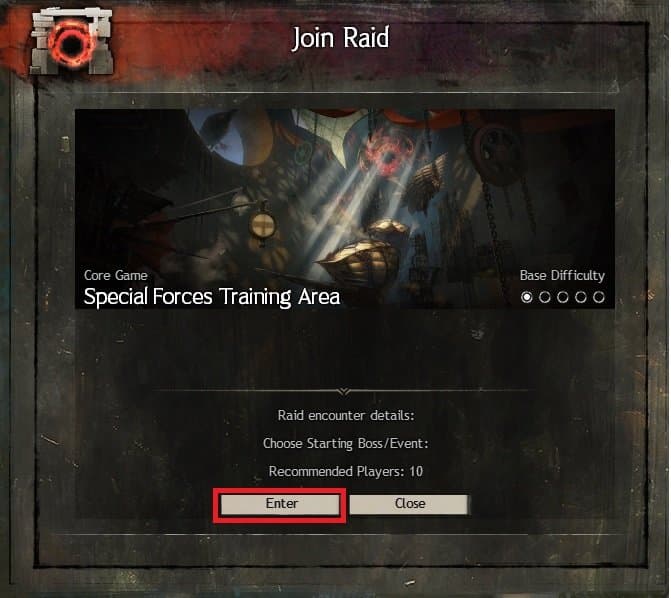
Entering the golem training area.
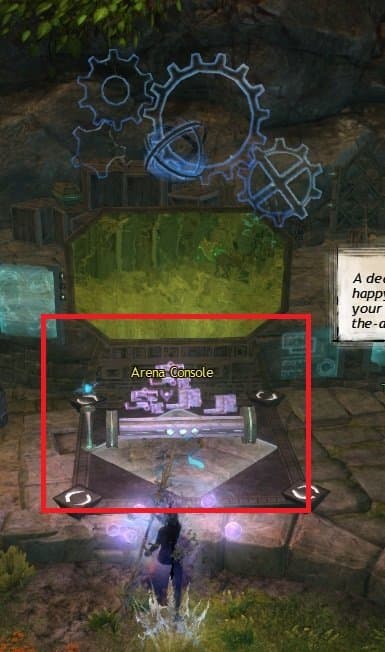
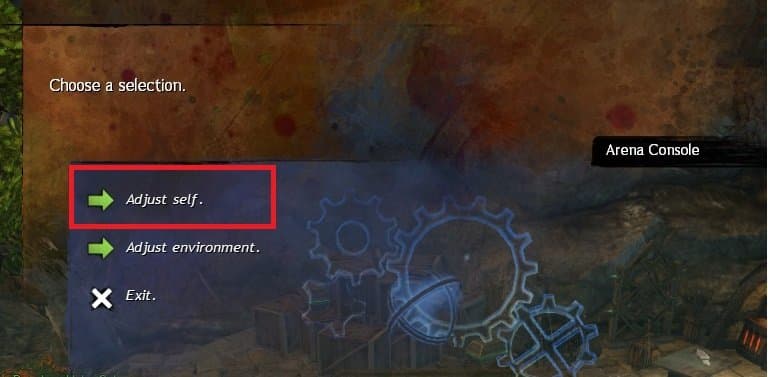
Arena Console: Configure continuous damage in the arena and the buffs applied to your character.
Applying all buffs.
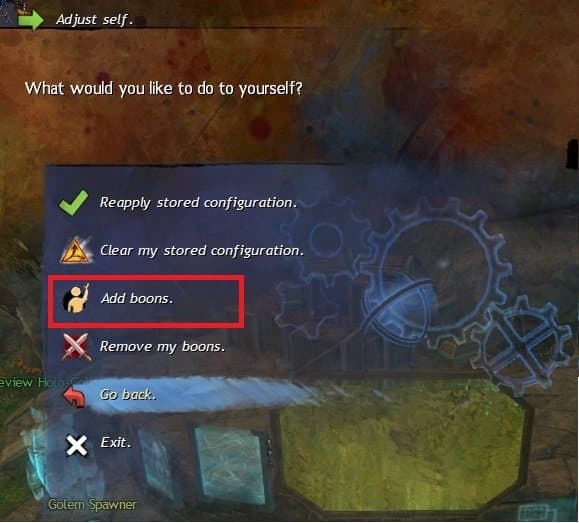
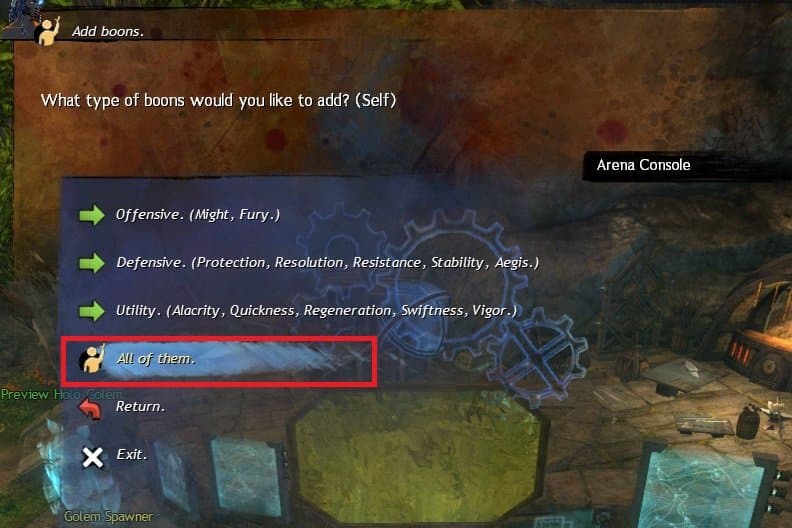
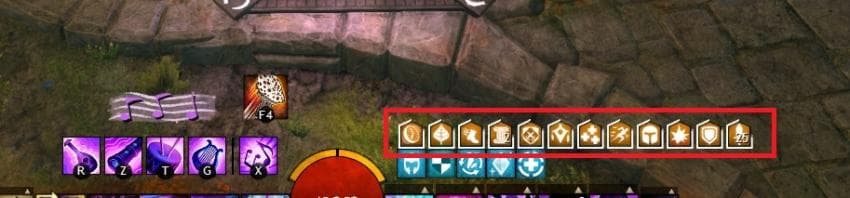
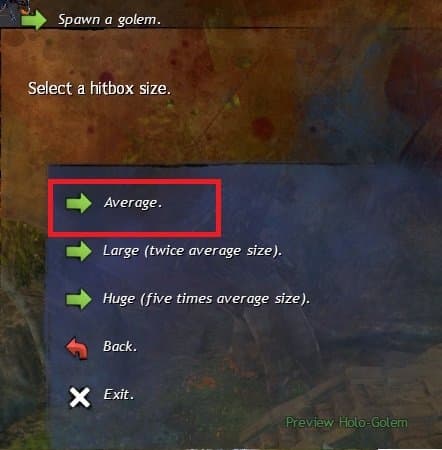
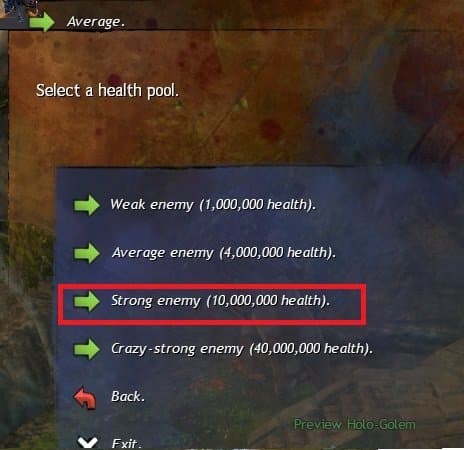
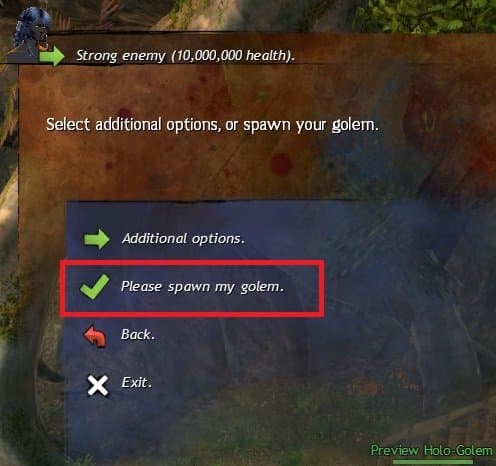
The console used to summon and configure the golem.
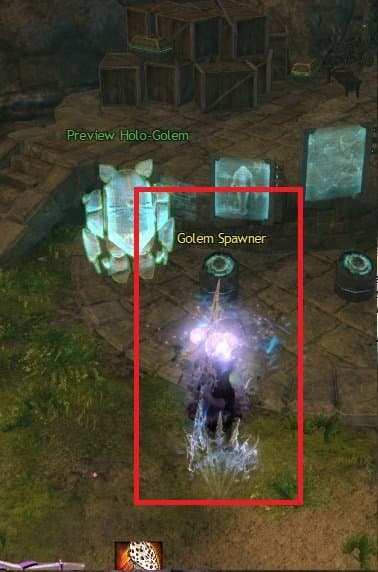
Configuring the golem.
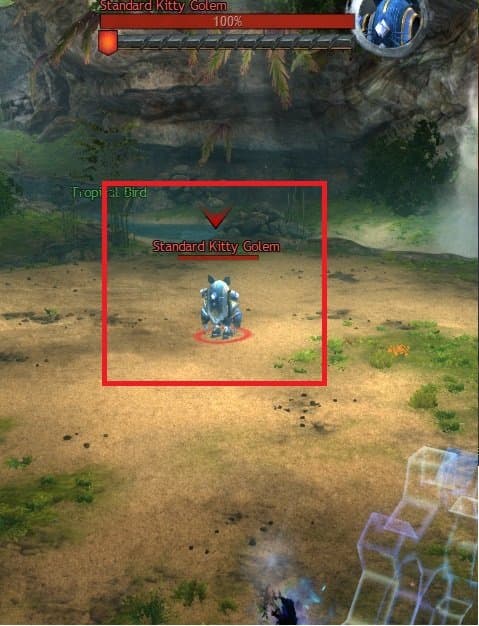
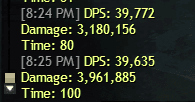
Check your damage with arcdps, or defeat the golem to see the damage report in chat, as shown in the image.
Read the introductory raid guides
Reading through the guide before joining a raid makes it easier to take part.