Wing 1: Normal mode
Vale Guardian · Gorseval · Sabetha
All raid guides
This is a short guide to the mechanics beginners need to know, rather than a complete breakdown of every attack.
First boss: Vale Guardian
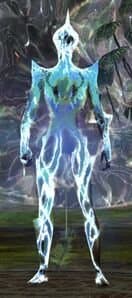
While attacking the boss, watch for the glowing blue areas that periodically appear beneath you, as shown in the image, and move out of them.
If one hits you, it teleports you to a random location. Return to your group calmly.
These can be hard to see with everyone stacked together and many effects on screen.
When the boss becomes invulnerable and splits into three guardians, go to the blue guardian.
The split guardians gain a defiance bar when their health reaches zero. Break that bar to finish them off.
Whenever the main boss gains a defiance bar, use crowd control (CC) skills to break it quickly.
Repeat these mechanics until the boss is defeated.
Second boss: Gorseval
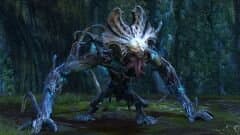
The boss pounds the ground and gains a defiance bar. Use CC skills to break it quickly.
When the boss becomes invulnerable, adds appear at four locations around it. Kill them before they reach the boss.
(Markers indicate where subgroups 1 and 2 should go. Follow your subgroup's marker and kill the adds there.)
The mechanics then repeat.
Third boss: Sabetha
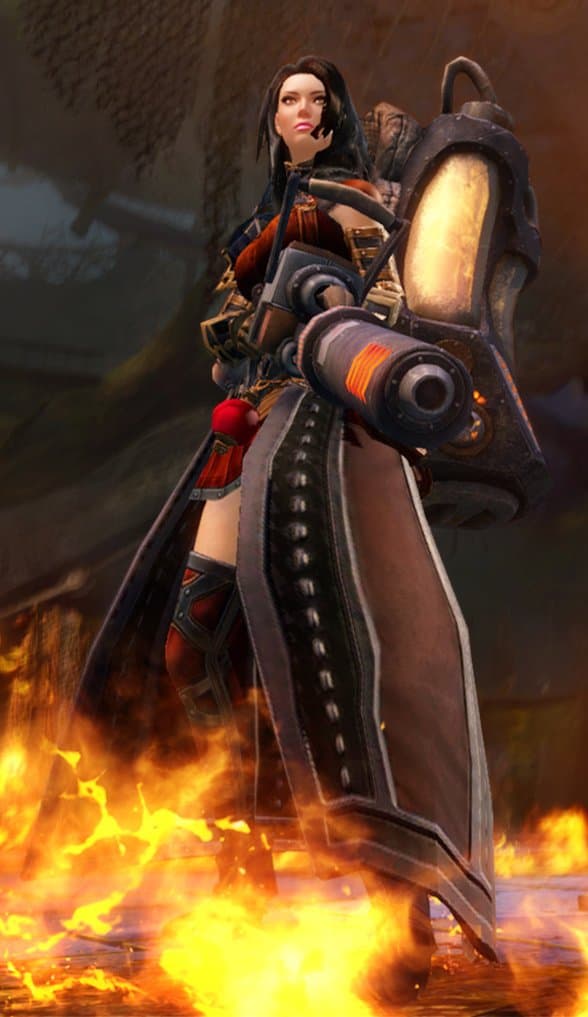
During the fight, a player periodically receives a bomb marked by a red circle, as shown in the image. Move away from your allies, let it explode, then return.
(Allies inside the blast radius take heavy damage.)
The boss fires a line of flame and rotates through a full 360 degrees. Touching the flame kills you instantly.
If you receive the green-circle bomb, wait for the player assigned to the launch pad to arrive, then use your special action key to throw the bomb to them, as shown.
Repeat until the boss is defeated.