Wing 6: Normal mode
Conjured Amalgamate · Twin Largos · Qadim
All raid guides
This guide uses mechanic images to give beginners a short explanation of what to do in their assigned role.
First boss: Conjured Amalgamate (CA)
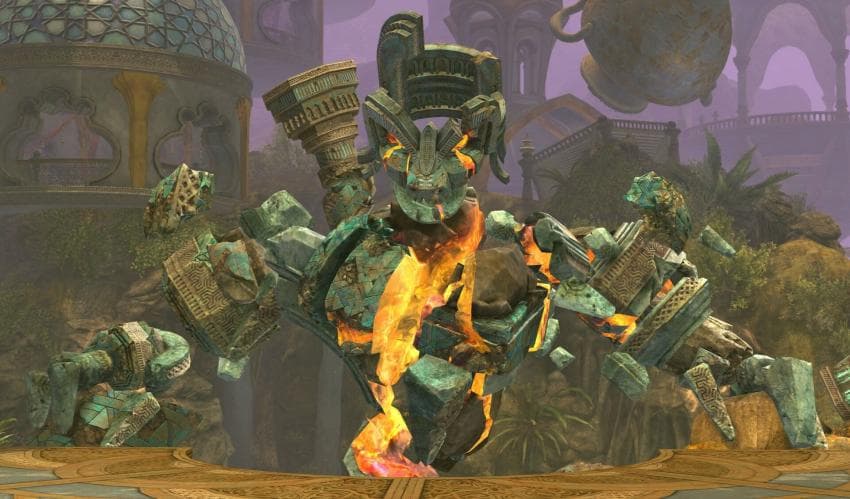
DPS players destroy the arm after it slams down.
(The slam knocks you down if it hits. Dodge it, or rely on the Stability or Aegis healers usually provide.)
After the arm is destroyed, everyone except the two players with assigned roles attacks the boss's center for maximum damage, as shown.
Bringing its health below 50% in this window lets you skip a mechanic.
Beginners can repeat this sequence for the encounter.
Second boss: Twin Largos (TL)
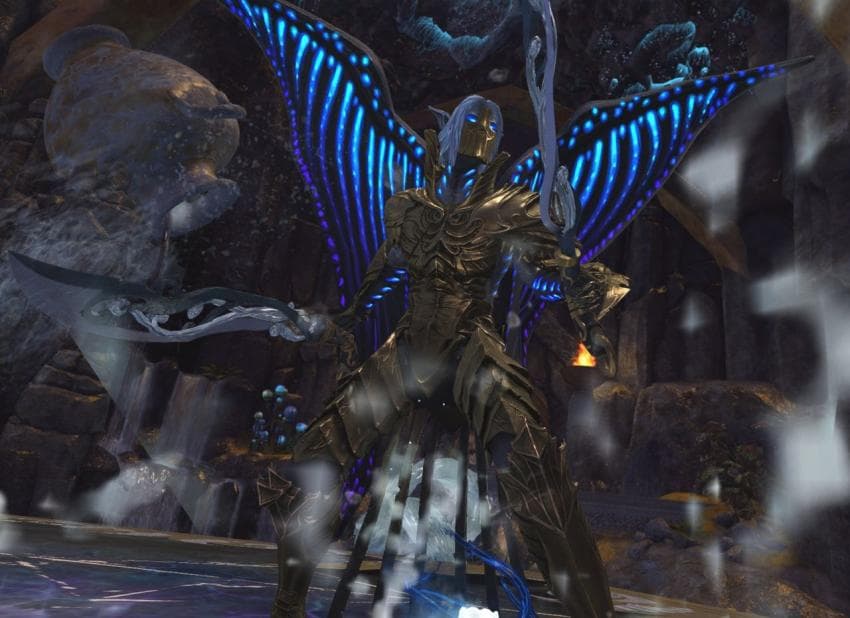
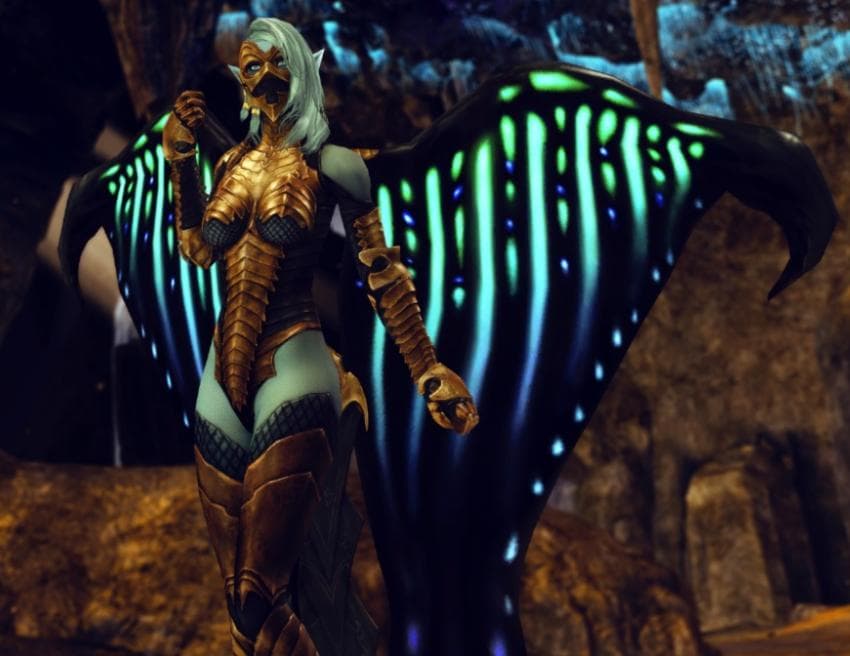
This encounter has two bosses. First bring the male boss to 50% health, then the female boss to 50%. Subgroup 1 then goes left and subgroup 2 goes right to fight separately.
You can ignore the male boss's charge attack.
While fighting the male boss, you may receive the marker and red circle shown. Move to the edge as in the video, wait for the field to appear, then return.
Entering the pool applies a debuff that kills you at ten stacks. If a pool is dropped on the group, move out immediately.

Fixed red circles periodically appear beneath all players. Move out when you see one. If it hits, you are trapped in a bubble; use a stun break to escape.
(A healer with a group stun break can also free you.)
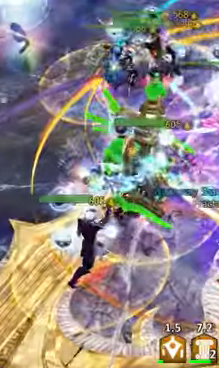
The large red circles shown also appear periodically. Avoid them.
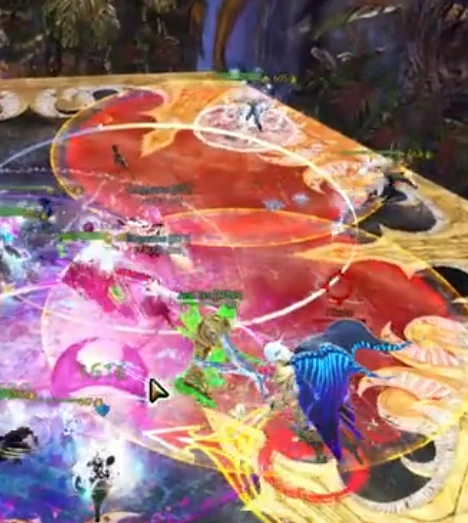
The female boss periodically displays a pulse, then pushes players with a wave. Jump over it or withstand it with Stability.
If you are pushed into the water outside the platform, use a nearby waterspout to return.
The ground attack shown here does not need much attention.
Avoid the water tornadoes that appear around the female boss. Getting hit applies a debuff that kills you at ten stacks. Falling into the water also adds stacks.
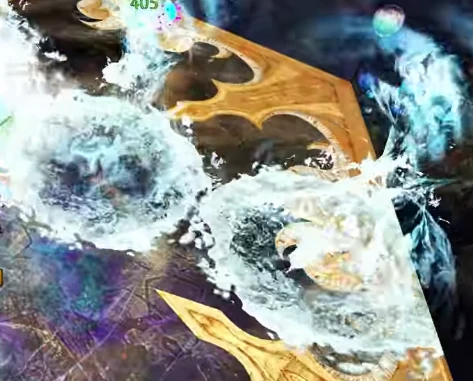
Once the female boss also reaches 50% health, split five and five: subgroup 1 goes left to the male boss, and subgroup 2 goes right to the female boss.
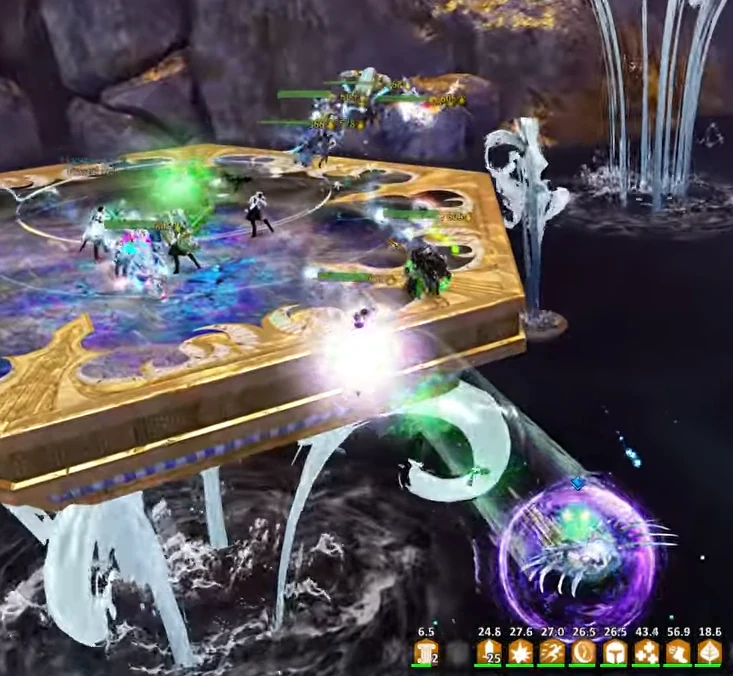
Each boss now has a two-minute time limit. Defeat yours in time. A subgroup that finishes early can cross over to help the other.
Below 50%, both bosses perform the spinning attack shown. Use CC to stun them and remove their shields.
Final boss: Qadim
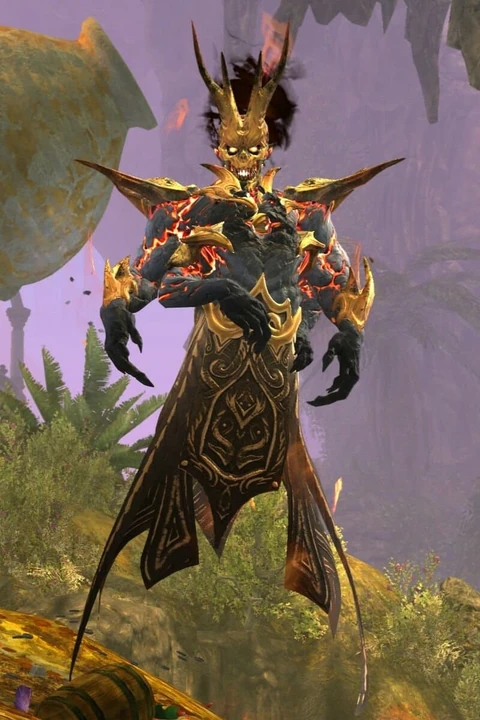
Qadim summons enemies in three rounds. Players rescue friendly creatures trapped in the lamp to help defeat them.
A hydra appears first. Use CC as soon as its defiance bar appears, as shown. If you are late, it drops meteors across the area.
* These enemies target the player closest to the red circle beneath them: their hitbox. Stay outside it.
When the lamp players succeed, a friendly creature appears and removes the enemy, as shown. Lowering the enemy to 75% health is enough for the friendly creature to finish it immediately.
After the first and second summoned enemies are defeated, subgroups 1 and 2 split up to destroy the Pyre Guardians shown, then return to the center.
(Subgroup 1 moves to 11 o'clock, then 9 o'clock. Subgroup 2 moves to 3 o'clock, then 1 o'clock.)
Back in the center, attack Qadim. Repeat the sequence: defeat the summoned enemy, clear the Pyre Guardians, return to the center, and damage the boss.
The boss displays a pulse before slamming the ground, as shown. Jump or dodge the attack.
Large orbs also move around the area. Avoid them, as a hit immediately downs you.
The second summoned enemy, a destroyer, has a defiance bar as soon as it appears. Use CC immediately; delaying allows more adds to spawn.
Then clear the Pyre Guardians and return to damage the boss in the center.
Two wyverns appear in the third round. One player handles the upper wyvern, so kill the lower one shown first.
After dealing with the wyverns in the third round, gather as shown, take the portal opened by an ally, and finish the boss.