Wing 8: Normal mode
Greer · Decima · Ura
All raid guides
This is a short guide to the mechanics beginners need to know, rather than a complete breakdown of every attack.
First boss: Greer
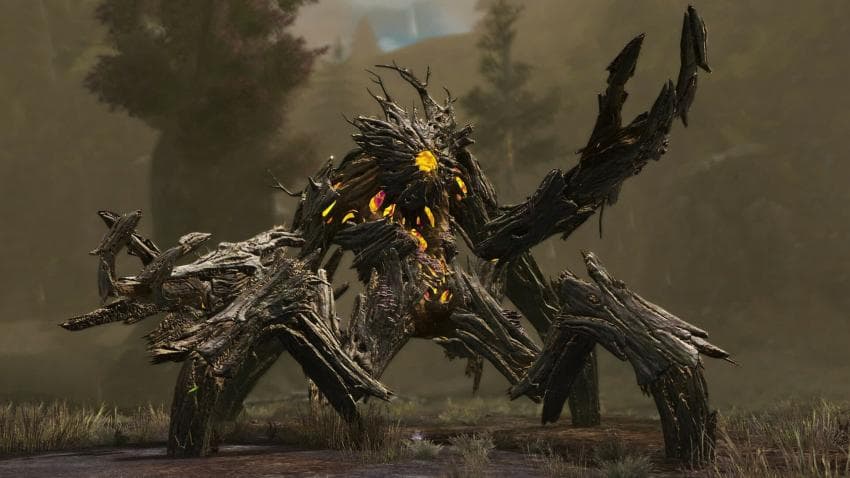
Throughout this raid, bosses and enemies have the ground effects shown beneath them. Entering these converts your boons into conditions, so stay clear.
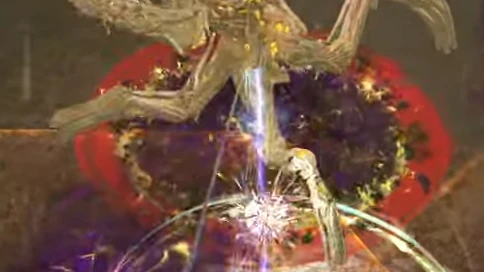
One to three players receive green circles. Keep the marked players apart. Overlapping green circles also deals heavy damage to other players caught in them.
The boss slams the ground three times. The final slam deals heavy damage and knocks back players in its area. Jump or dodge the shockwave.
Break the boss's defiance bar quickly to interrupt its area attack.
Avoid the attack shown. A hit converts all your buffs into conditions.
Second boss: Decima
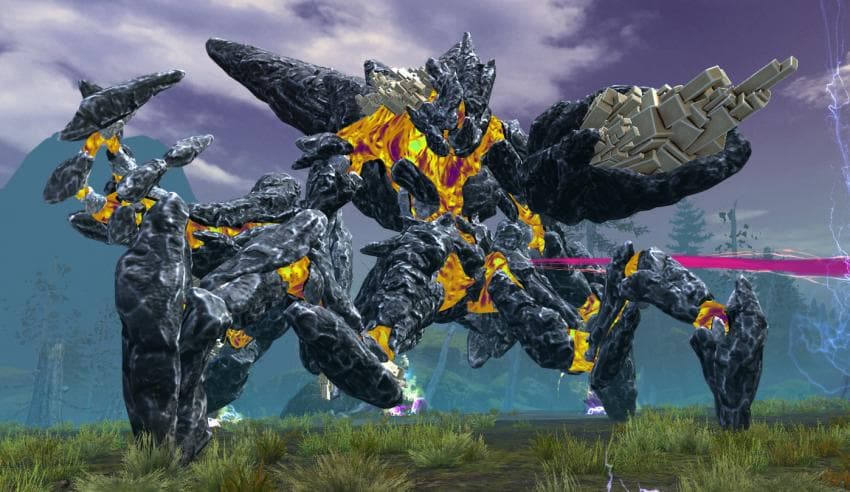
The group divides into melee and ranged teams for this boss.
The teams remain together until the boss first reaches 75% health.
When the boss jumps and slams down, standing inside the circle beneath it (its hitbox) kills you.
Green orbs travel from charged pillars toward the boss. Players must intercept them.
(A small orb needs one player, a medium orb two, and a large orb three.)
When circles appear around players, spread out so they do not overlap.
At 75%, the boss gains a defiance bar while green orbs travel toward it.
(Intercept the green orbs and break the bar to enter phase two.)
Melee team
In phase two, the melee team stays near the boss while the ranged team stands farther away, as shown.
The melee team now handles the green orbs. The ranged team manages lasers and takes heavy damage if it intercepts green orbs.
In phase three, a melee player is targeted by a green laser. All five melee players stack in that laser.
Ranged team: stop intercepting green orbs
When ranged players aim lasers into nearby pillars, the pillars charge and release large green orbs, preventing ground fields from forming around them.
Everyone must remain closer to the boss than the assigned kiter.
In phase two, position so the lasers do not charge the pillars behind you, and sustain through the lasers with your healer's support.
The kiter belongs to the ranged team and stands farthest from the boss to handle the red laser. This laser kills instantly, so everyone else must avoid it.
In phase three, the lasers fire simultaneously. Spread out and position to receive them without charging the pillars.
Repeat the mechanics until the boss is defeated.
Final boss: Ura
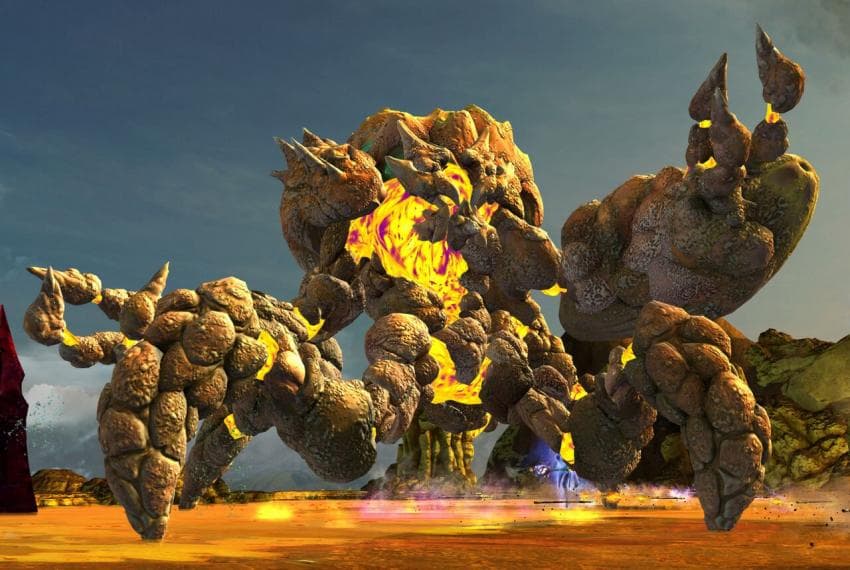
Bring CC and mobility skills. The boss gains a defiance bar every time it loses 5% health.
Picking up the Bloodstone shown grants a special action skill used to free allies from mechanics.
Picking one up gives you a stack, so alternate pickups with other players.
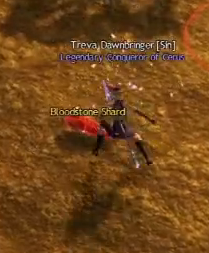
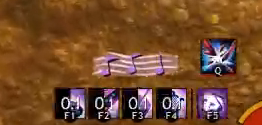
If you receive the circle shown, move to the group's left and stack with the other affected player to rise into the air. A player holding a Bloodstone frees you by using the special action skill from below.
After landing, pick up a dropped Bloodstone and use it in the same way when other players rise into the air.
Phase two begins at 70%, and a vortex pulls in allies. Two Bloodstone holders must use their special action skills to free the group.
After phase two begins, a player can receive a ring mechanic. Position it so allies stay out of the ring, then return.
If the pulse shown appears on you, move as far from the boss as possible, place the field, and return. The field buffs the boss, so place it well away.