Wing 3: Normal mode
Siege the Stronghold · Keep Construct · Twisted Castle · Xera
All raid guides
This is a short guide to the mechanics beginners need to know, rather than a complete breakdown of every attack.
First encounter: Siege the Stronghold
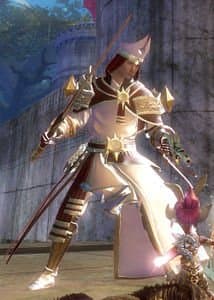
When the tower player opens a portal, take it to help capture the tower, then return.
On the way to the boss, destroy the mines shown in the image and kill the wargs.
(Mines kill you instantly. A warg reaching the NPC wipes the group.)
The mines are hidden initially. As a beginner, wait for them to appear, destroy them, and then move forward with the group.
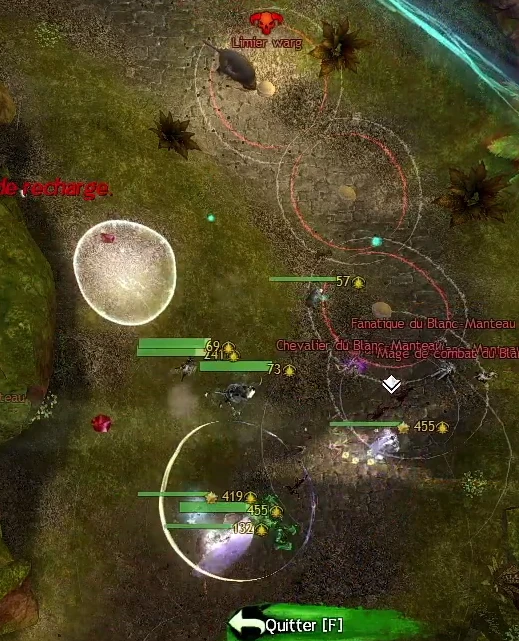
When the final boss splits into two, attack the one matching the color above your head.
(Wargs also appear during the boss fight. Kill them first.)
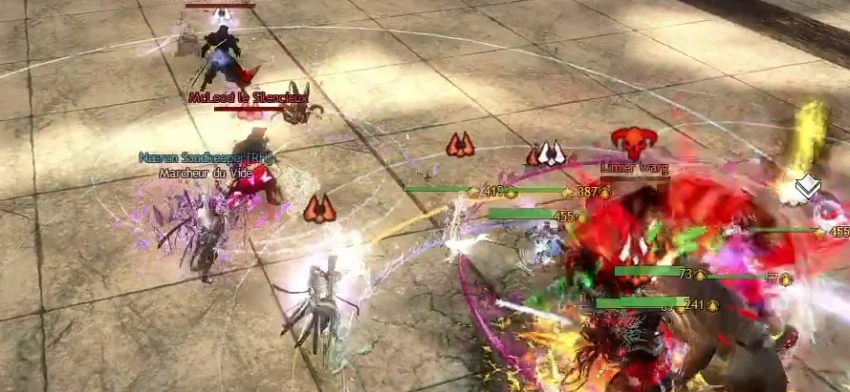
Second boss: Keep Construct
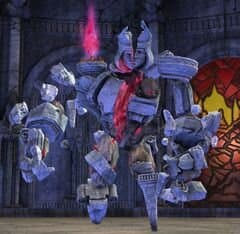
Statues along the two walls glow and break open, releasing champion enemies. Kill these champions near the boss.
(Two champions appear. They merge if they get close to each other, so kill them quickly, one at a time, near the boss.)
After two champions have been killed near the boss, its defiance bar appears. Break it.
(Once the bar is broken, three green circles appear as shown. Put at least two players in each.)
When the boss becomes invulnerable in the center, orbs appear around the arena. Intercept incoming orbs that match the color above your head before they reach the boss.
The mechanics then repeat.
Third encounter: Twisted Castle
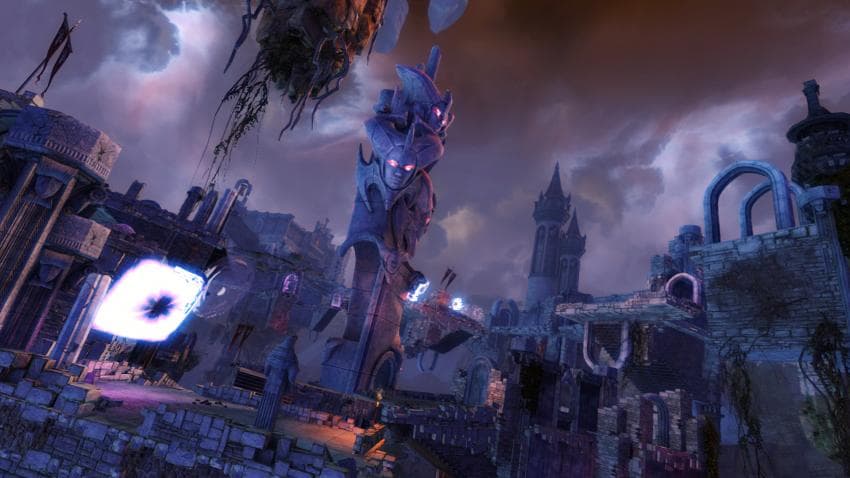
This is a puzzle encounter. Beginners can follow the commander.
Final boss: Xera
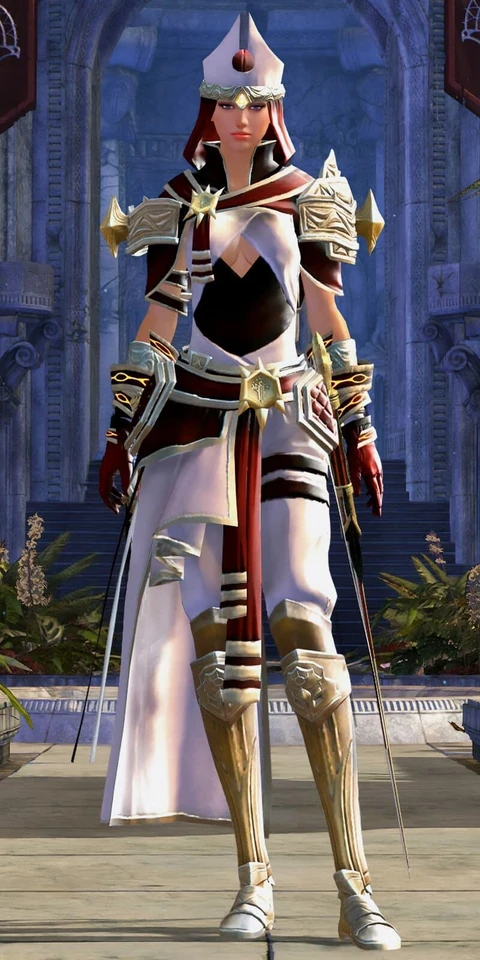
You need the final Gliding mastery to fight this boss.
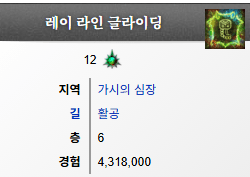
The first mechanic on the way to the boss involves moving the three orbs shown into three rifts, one per rift. An orb disappears if it enters a red circle.
(Beginners can leave the orbs to the assigned players.)
For the second mechanic, one player stands on each of three platforms. This removes the central crystal's shield, allowing it to be destroyed.
(Beginners usually wait for the shield to drop, then help destroy the crystal quickly.)
During the boss fight, one player's name appears on screen and that player receives a special action skill.
The skill creates a protective shield. Place it on the grouped allies when the boss uses its wipe attack.
(You can time it by watching the giant boss pull its arm back, as shown; using it four seconds after receiving the special action skill; or listening for the sound cue to speed up.)